
Introduction
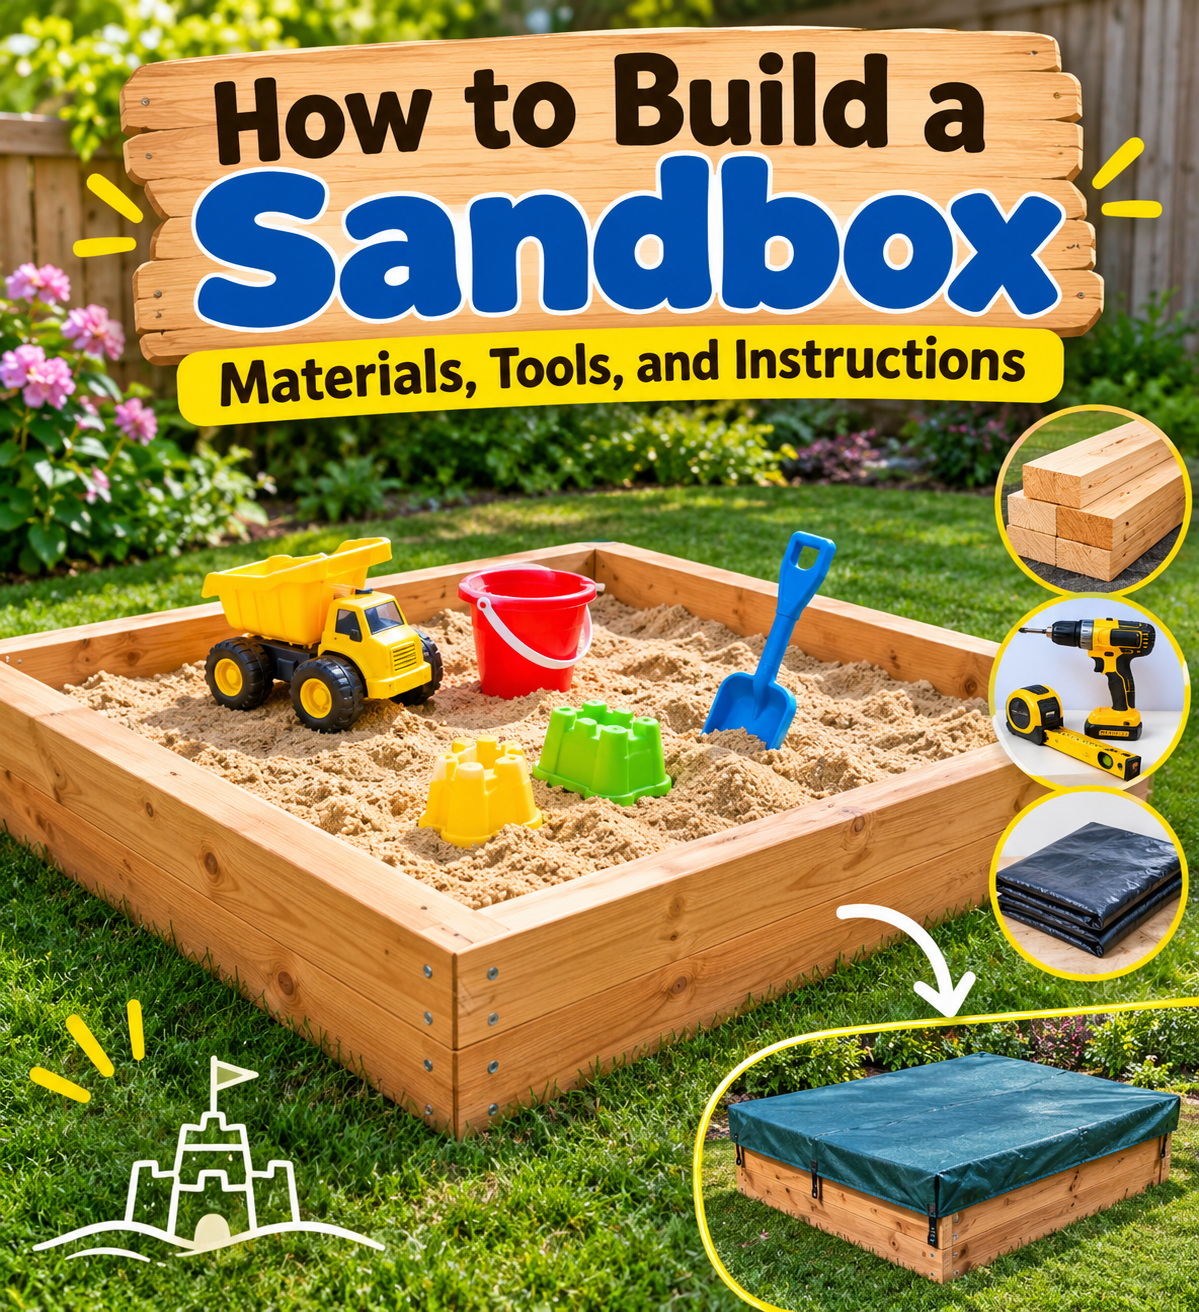
A backyard sandbox is one of the simplest and most rewarding projects you can build for your kids. It gives them hours of creative, screen-free play, and building it yourself costs far less than most store-bought kits. Better yet, you control the size, the materials, and the quality.
This guide walks you through everything: planning, materials, tools, step-by-step instructions, and long-term care. Most people can finish a basic sandbox in a single weekend. It costs roughly $75 to $200 depending on your materials, and it requires only beginner-level DIY skills.
Planning Your Sandbox
Choose the location. Pick a flat spot with partial shade. Full sun makes sand hot and uncomfortable, while deep shade keeps it damp. Make sure the area drains well and sits within view of a window or patio so you can keep an eye on little ones. Avoid placing it under trees that drop sap, berries, or lots of leaves.
Decide on size and shape. A 4 x 4 foot sandbox suits one or two children. For several kids, go with 5 x 5 or 6 x 6 feet. Aim for walls about 8 to 12 inches tall.
Pick a design. A basic square box is the easiest. A corner sandbox saves space, and a version with built-in seats adds comfort and doubles as a ledge for play.
Check before you dig. Call your local utility locating service before breaking ground, and review any HOA or municipal rules about backyard structures.
Materials You’ll Need
- Lumber: Cedar and redwood are naturally rot-resistant and safe for children. Modern pressure-treated lumber is considered safer than older versions, but many parents still prefer untreated cedar. Composite boards are durable and splinter-free, though pricier.
- Hardware: Exterior-rated screws (stainless or coated), corner brackets, and braces.
- Weed barrier: Landscape fabric that lets water drain while blocking weeds.
- Sand: Choose washed, clean play sand labeled safe for children. Avoid construction sand, which can be coarse or dusty, and avoid sand containing silica dust warnings meant for industrial use.
- Optional extras: A tarp, a fitted cover, or lid materials.
Typical shopping list for a 4 x 4 ft box:
- Four 2×10 boards (cut to size) or similar lumber
- Four 4×4 corner posts (optional)
- 1 box of exterior screws
- 16 square feet of landscape fabric
- Roughly 8 to 10 fifty-pound bags of play sand
- Sandpaper and a child-safe sealant (optional)
Tools Required
- Measuring and marking: Tape measure, pencil, carpenter’s square, and a level
- Cutting: Circular saw or handsaw (or have the store cut lumber for you)
- Drilling and fastening: Cordless drill with bits, plus a screwdriver
- Ground prep: Shovel, rake, and a tamper
- Safety gear: Work gloves, safety glasses, and a dust mask when cutting or sanding
Step-by-Step Building Instructions
Step 1: Mark and clear the area. Outline your sandbox with stakes and string or spray paint. Remove grass, rocks, and roots from inside the outline.
Step 2: Level the ground. Dig down 2 to 4 inches and rake the soil flat. Use a level to check, then tamp the soil firm. A level base keeps the frame square and stable.
Step 3: Measure and cut the lumber. Cut your boards to length according to your chosen dimensions. Measure twice and cut once. If you’re using corner posts, cut them to match the wall height.
Step 4: Assemble the frame. Join the boards at the corners with screws, predrilling holes to prevent splitting. Use your carpenter’s square to confirm each corner is a clean 90 degrees. Set the frame in place and check that it’s level.
Step 5: Add corner supports and seats. Attach corner brackets or 4×4 posts inside the corners for extra strength. For built-in seats, screw 2×6 boards flat across the top of each corner or along the full rim, overhanging slightly toward the inside. Sand all top edges smooth.
Step 6: Install drainage and weed barrier. Lay landscape fabric across the base and staple it to the inside walls. This keeps weeds out while allowing rainwater to drain. For heavy-rain areas, add a thin layer of gravel under the fabric.
Step 7: Fill with sand. Pour in play sand until it reaches about 6 to 8 inches deep, leaving a couple of inches below the rim to keep sand from spilling out. Rake it level.
Step 8: Sand down rough edges. Go over every surface a child might touch with medium-grit sandpaper, then finish with fine grit. Wipe away dust.
Adding a Cover or Lid
A cover keeps out cats, leaves, rain, and bugs. It also prevents the sand from becoming a damp, smelly mess.
Simple tarp cover: The cheapest option. Use a breathable or mesh cover secured with bungee cords or weights. Avoid fully airtight plastic, which traps moisture.
Hinged wooden lid: Build two plywood or board panels slightly smaller than the frame, attach them with exterior hinges, and add handles. When open, the panels can be flipped back to serve as extra seating.
Safety Tips
- Use non-toxic, child-safe wood and finishes. If you seal the wood, choose a water-based, non-toxic product and let it cure fully.
- Countersink screws and sand every edge to remove splinters and sharp corners.
- Choose certified clean play sand, and avoid products with dust warnings.
- Always supervise young children, and place the sandbox away from pools, driveways, and fences they could climb.
Maintenance and Care
- Keep it clean: Rake the sand weekly to remove debris and loosen compacted areas.
- Keep it dry: Cover it after play and during rain so the sand doesn’t stay wet.
- Refresh the sand: Top off as needed, and replace it entirely every one to two years, or sooner if it becomes soiled or moldy.
- Protect the wood: Reapply a child-safe sealant each year, and check for loose screws or cracked boards.
- Seasonal care: Inspect the box in spring, cover it securely in winter, and refresh sand after heavy storms.
Customization Ideas
- Add a canopy or umbrella for shade on hot days.
- Paint or decorate the frame with non-toxic outdoor paint.
- Include play accessories such as buckets, shovels, sifters, and toy trucks, stored in a small bin nearby.
- When your kids outgrow it, convert the frame into a raised garden bed by replacing sand with soil.
Common Mistakes to Avoid
- Poor drainage: Standing water breeds mold and mosquitoes. Always include a drainage layer or weed barrier.
- Wrong sand type: Construction sand is rough and may contain harmful dust. Stick with play sand.
- Skipping the weed barrier: Without it, weeds and soil will work their way into your sand.
- Using unsafe materials: Avoid old railroad ties or lumber treated with harsh chemicals.
Frequently Asked Questions
How deep should a sandbox be?
Aim for 6 to 8 inches of sand. This is deep enough for digging without wasting material.
How much sand do I need?
Multiply length x width x depth (in feet), which gives cubic feet. A 4 x 4 ft box filled 6 inches deep needs about 8 cubic feet, which is roughly 10 fifty-pound bags. Check the bag for its exact volume.
How often should I replace the sand?
Every one to two years, or whenever it gets wet, dirty, or contaminated.
What is the best wood for a sandbox?
Cedar is the top choice for its natural rot resistance and safety. Redwood is similar, and composite works if you want zero maintenance.
Conclusion
Building a sandbox is an affordable, satisfying weekend project that pays off for years. Plan your location, choose safe materials, build a sturdy and level frame, and finish with clean sand and a good cover. With regular care, your DIY sandbox will provide endless hours of imaginative play and may even become the favorite spot in your backyard.
Grab your tools, pick a sunny Saturday, and start building.
